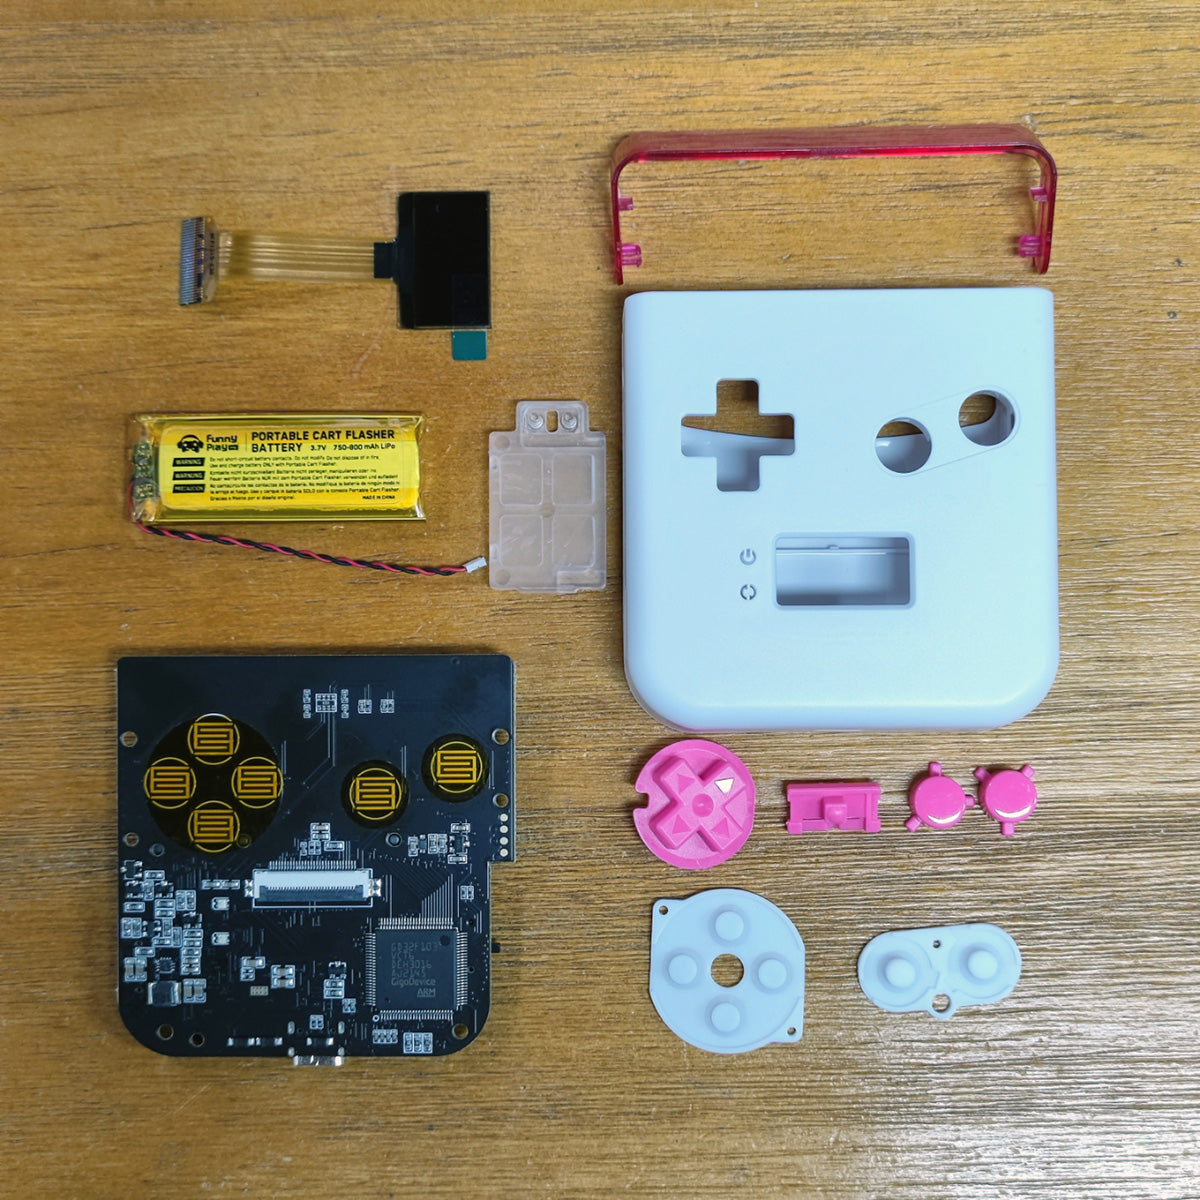
- Confirm that you have prepared all the BurnMaster accessories
- Install buttons and glue on the front shell,And there are also panels and brackets.
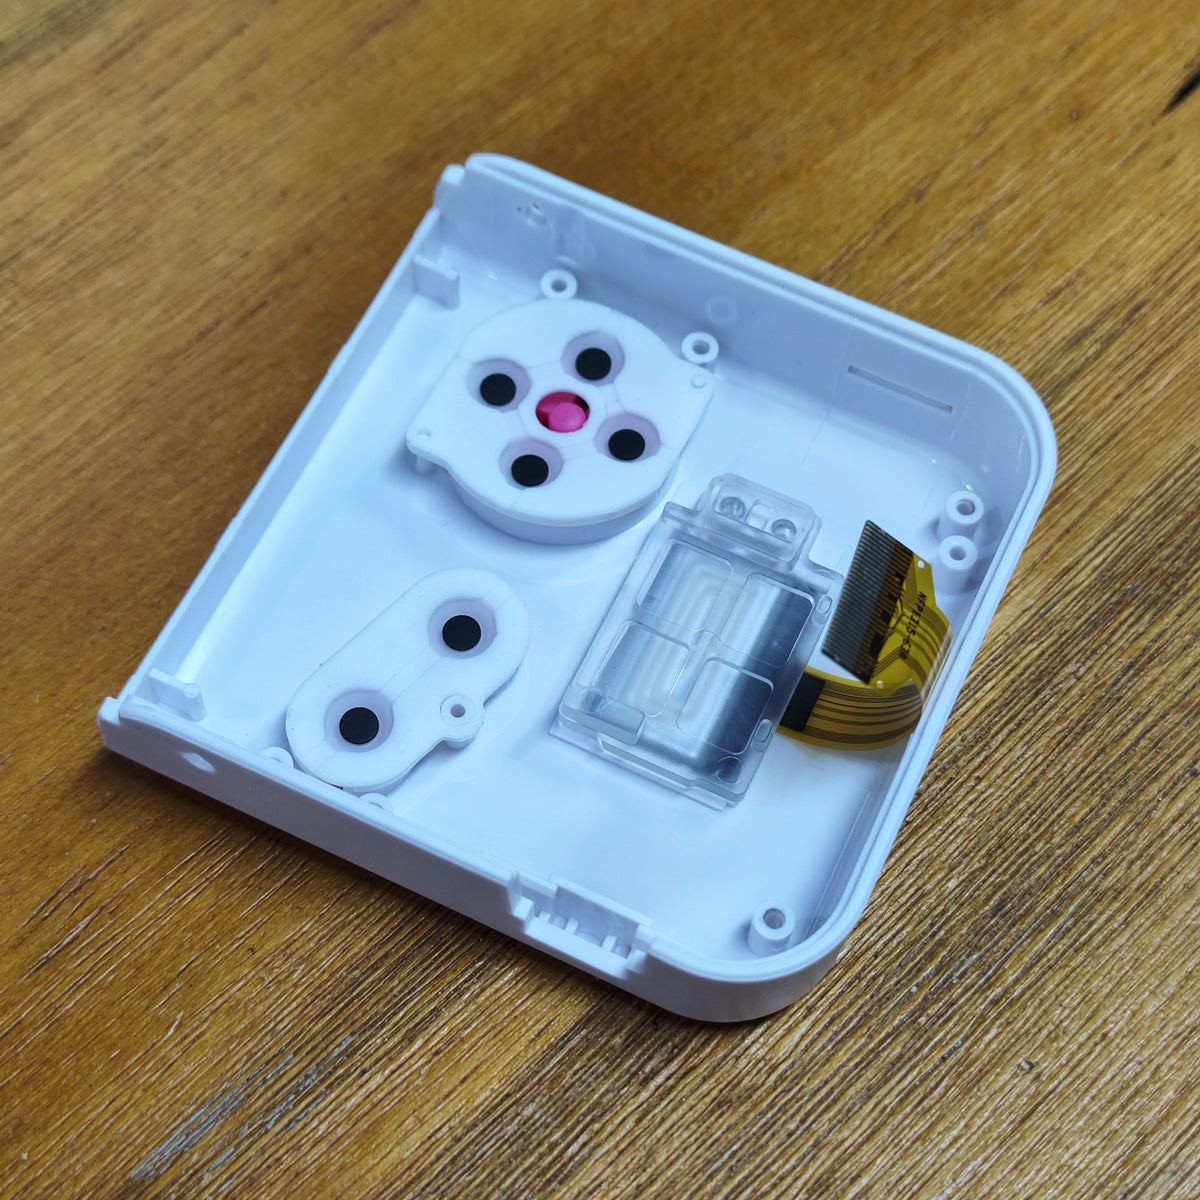
- Connect the panel ribbon to the motherboard,Also remember to remove the button protection film.

- Flatten the motherboard,Tighten three screws,Put the power switch in place
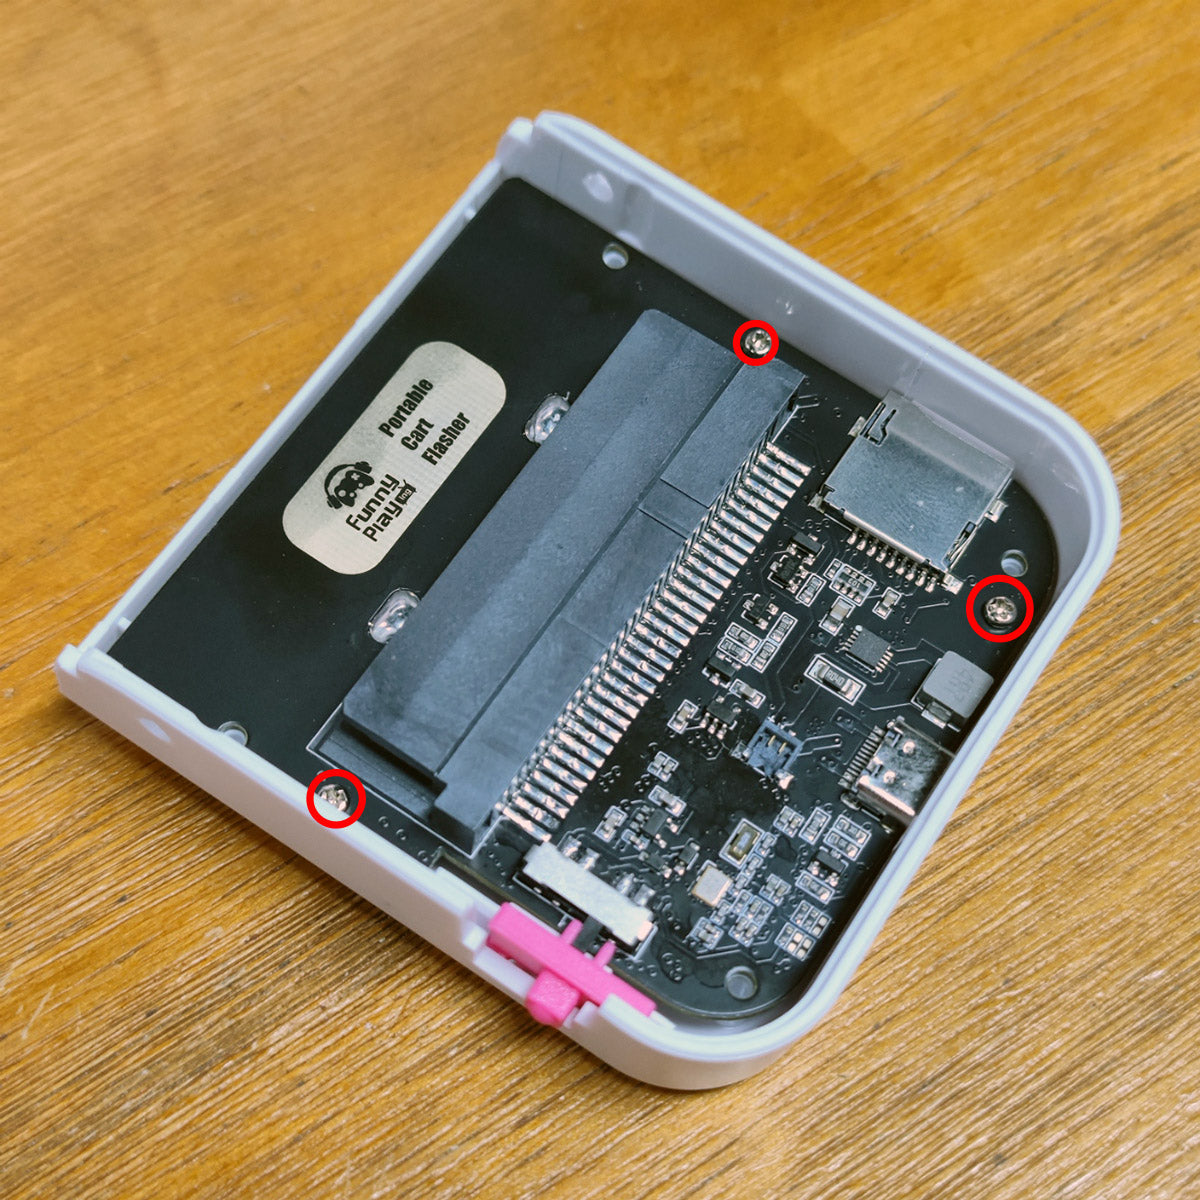
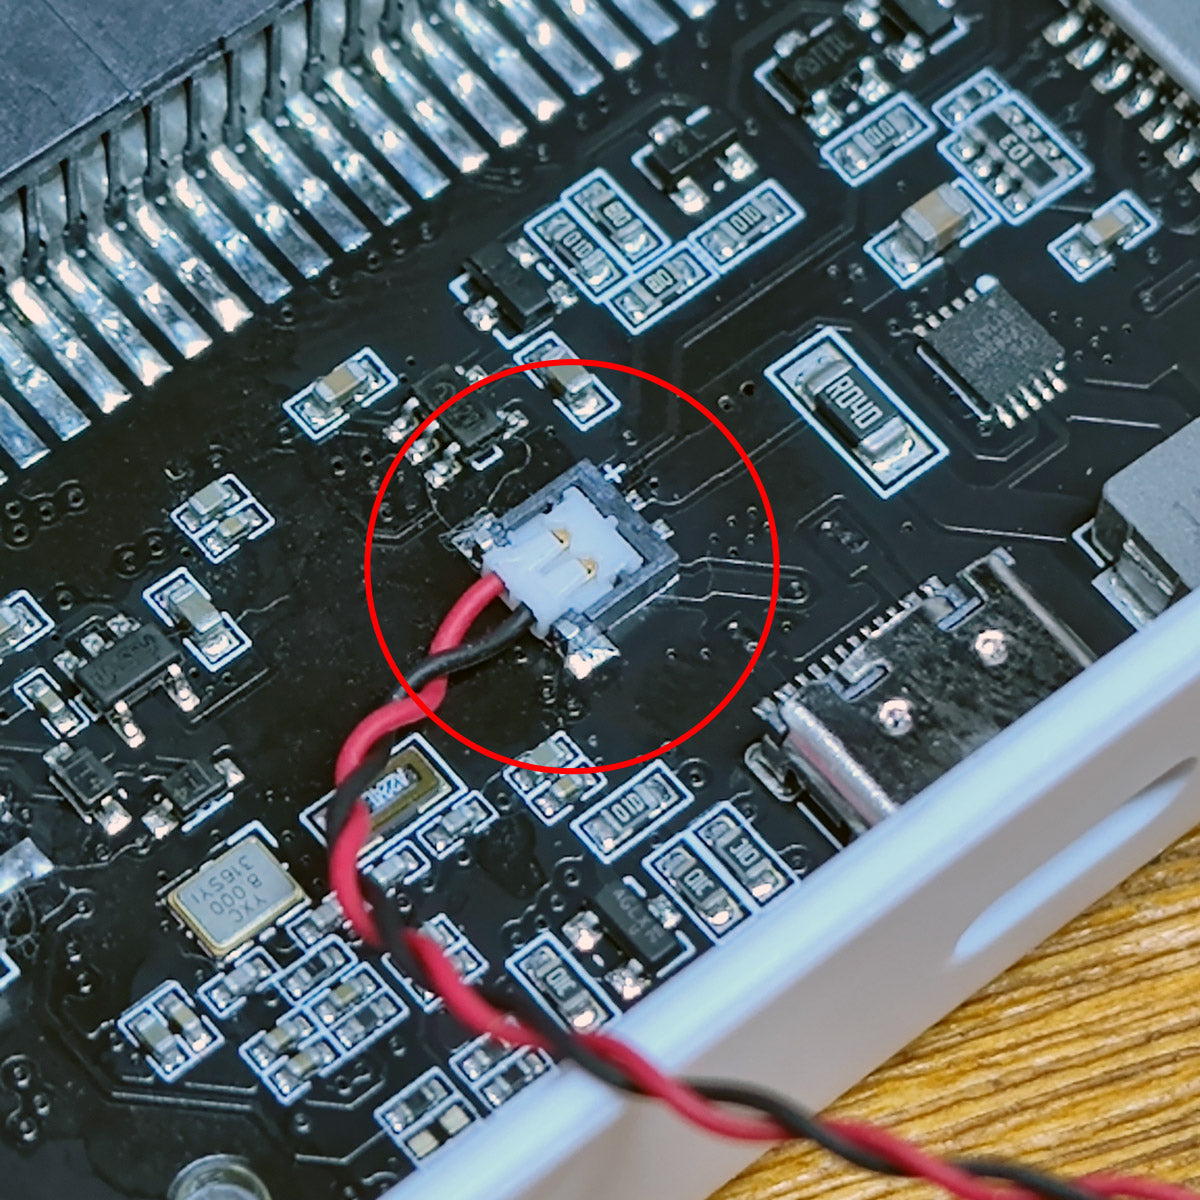
- Particular attention The battery interface follows the image
- Cover the back cover with four screws,The last step is to install the cover

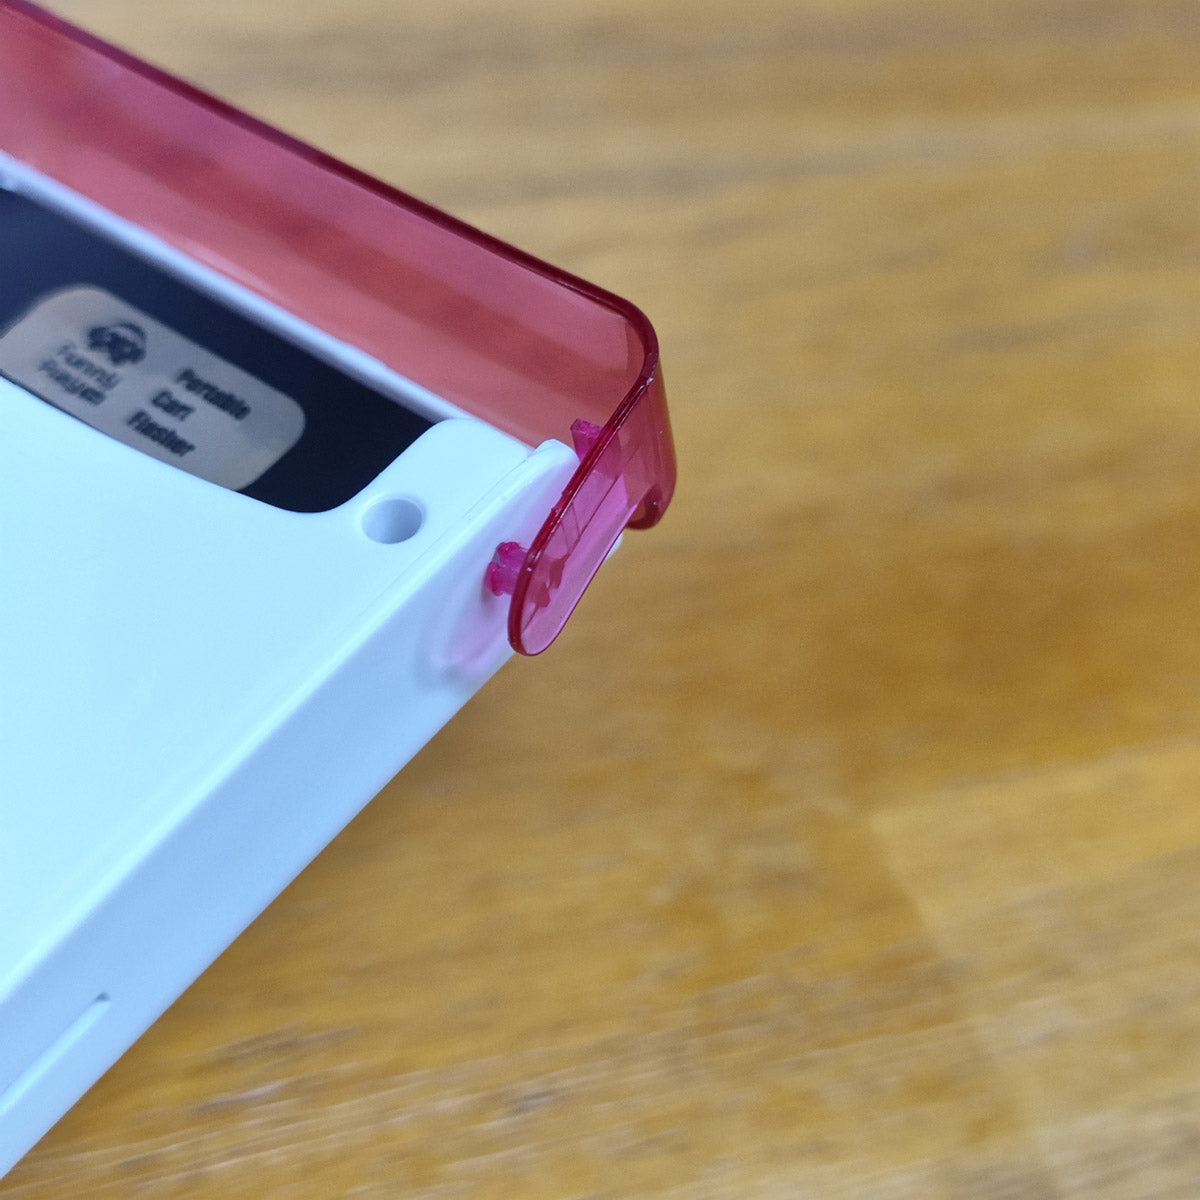
- Install one side then installing the other side.It requires a little effort during installation.
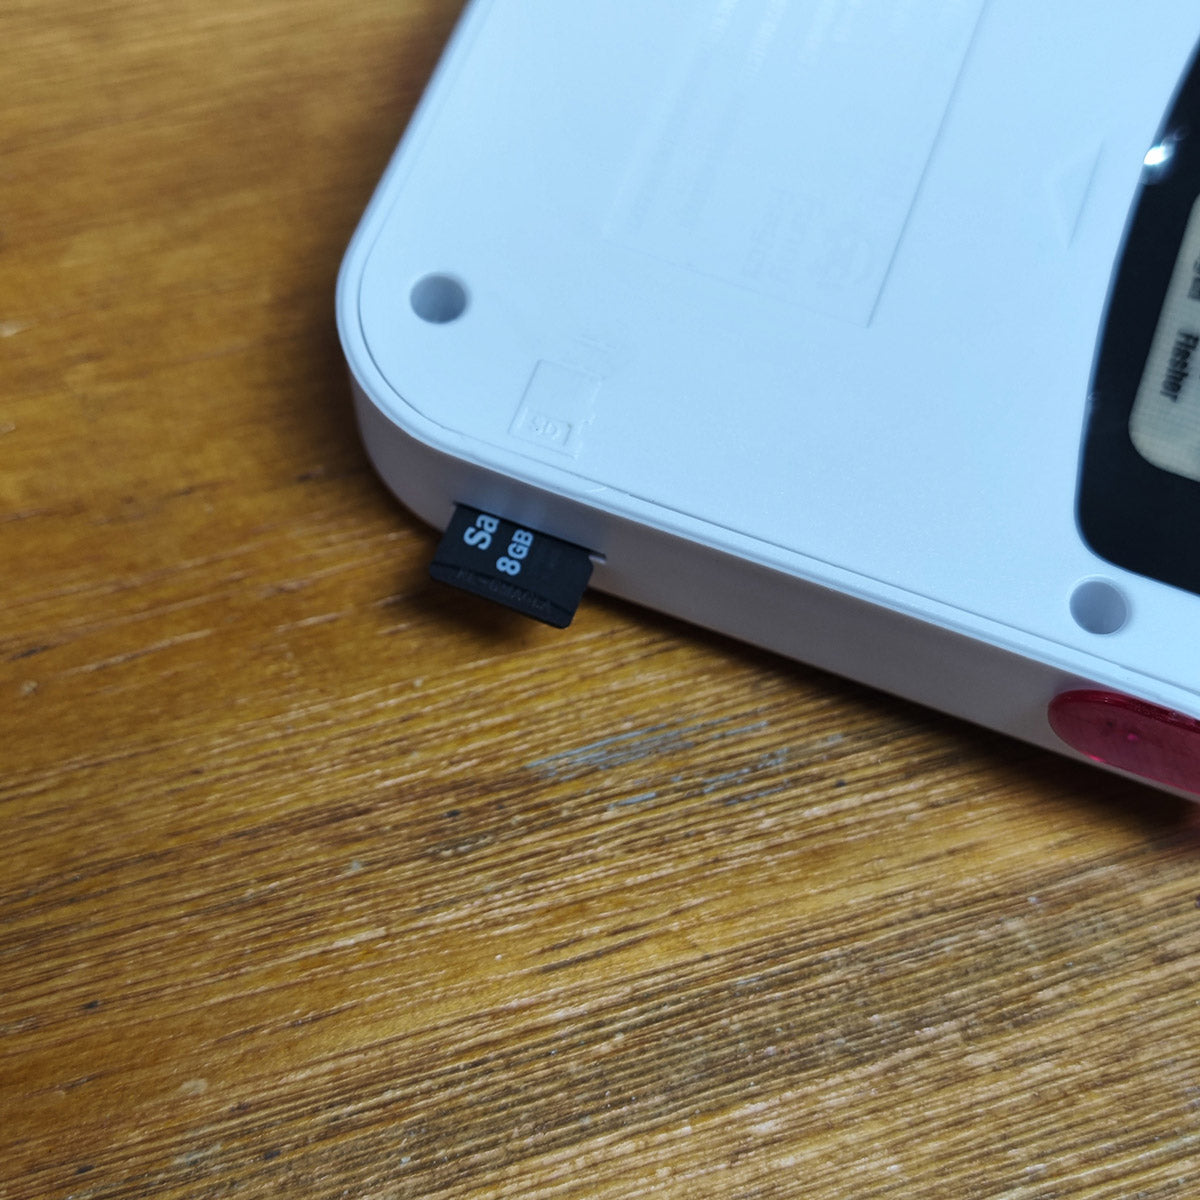
- Download firmware on the BurnMaster product page.Format the SD card to FAT32,Place the ‘update.bin’ file in the root directory.Then insert the BurnMaster.
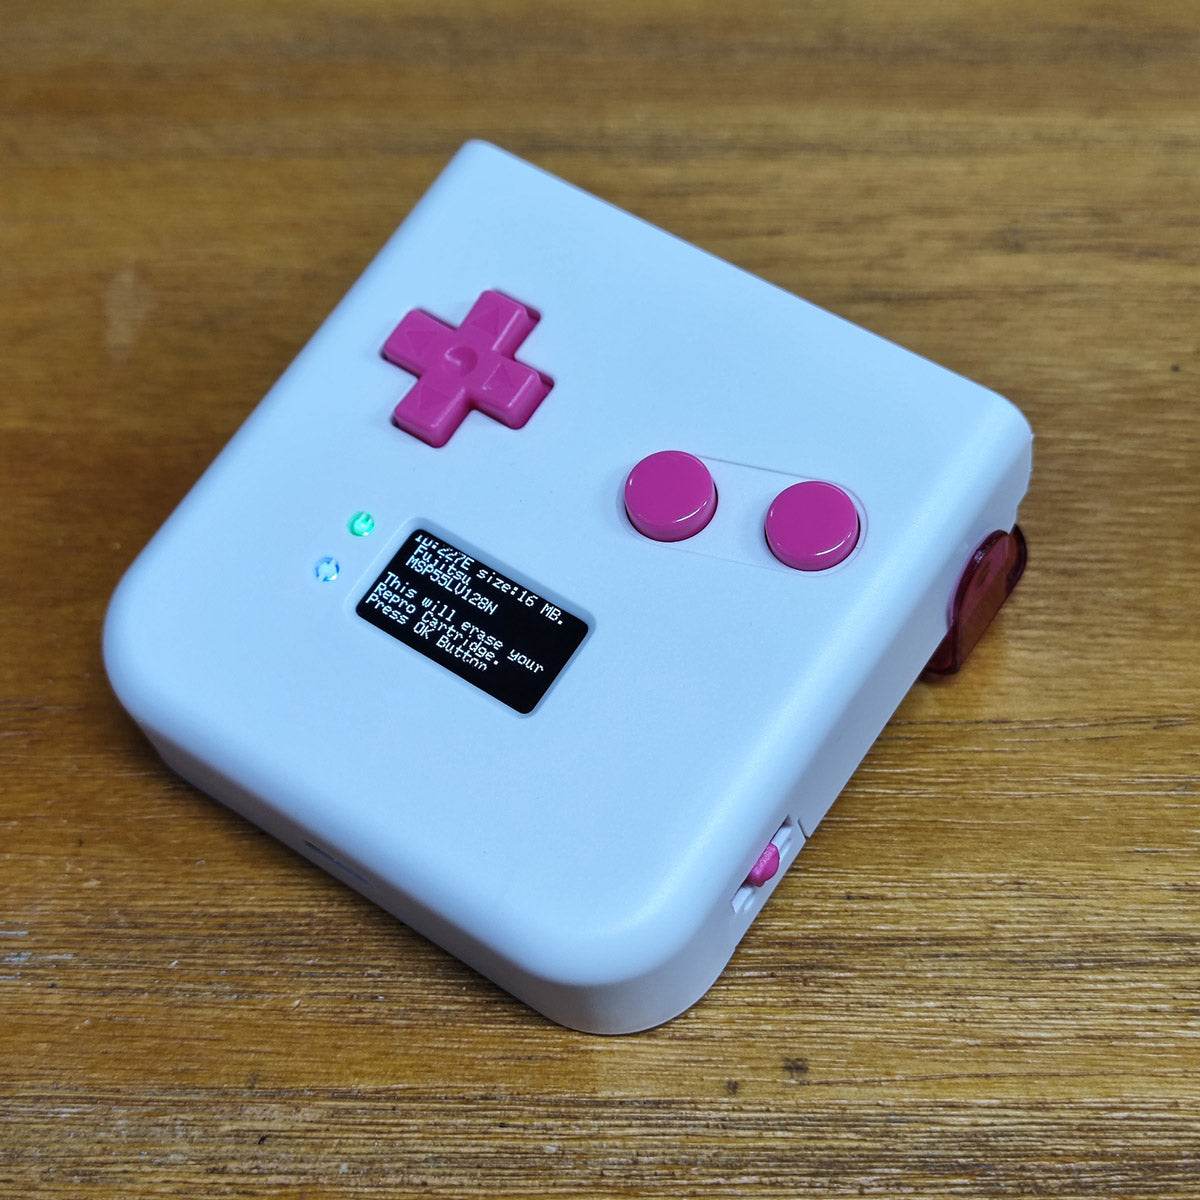
- Turn on the power at any gear,The screen will prompt for upgrade,After successful upgrade, it will automatically enter the system.

- You can start flash cart now.