
- Laminated panels need to be matched with special shells,This kit comes with laminate panel bracket.
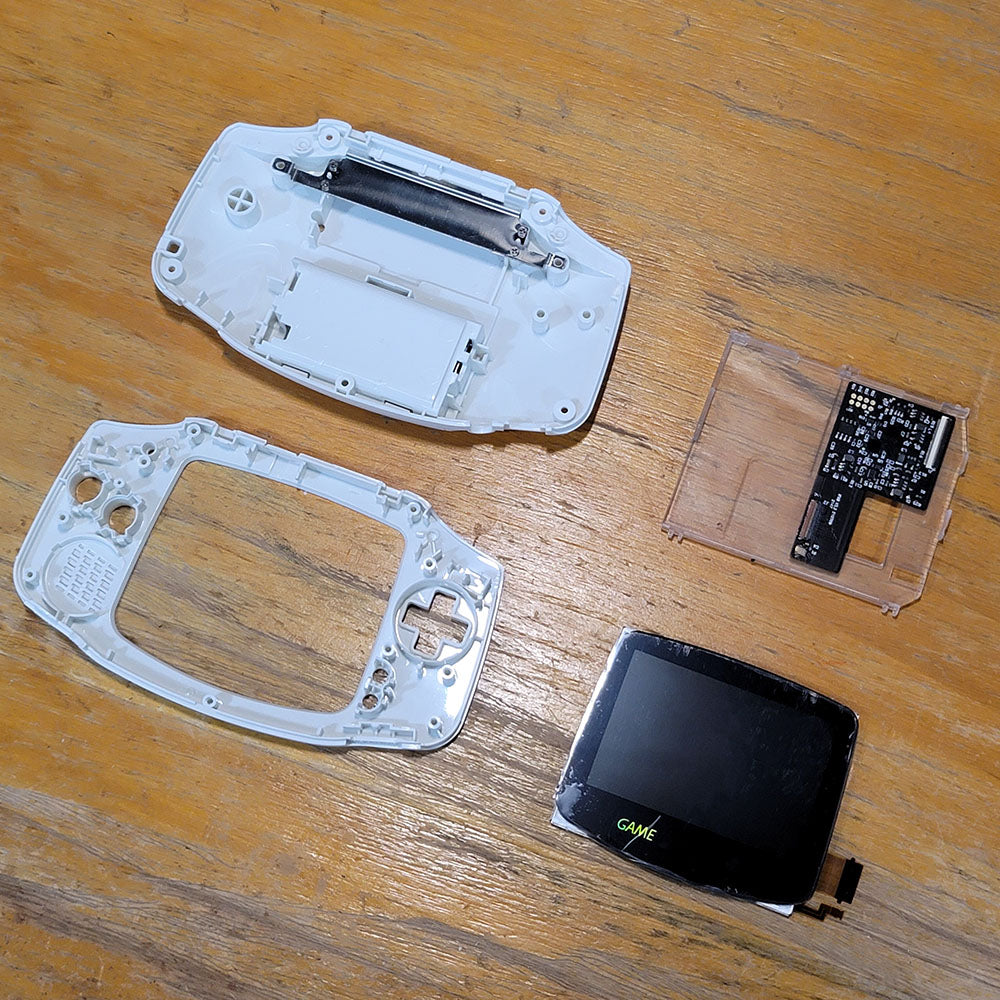
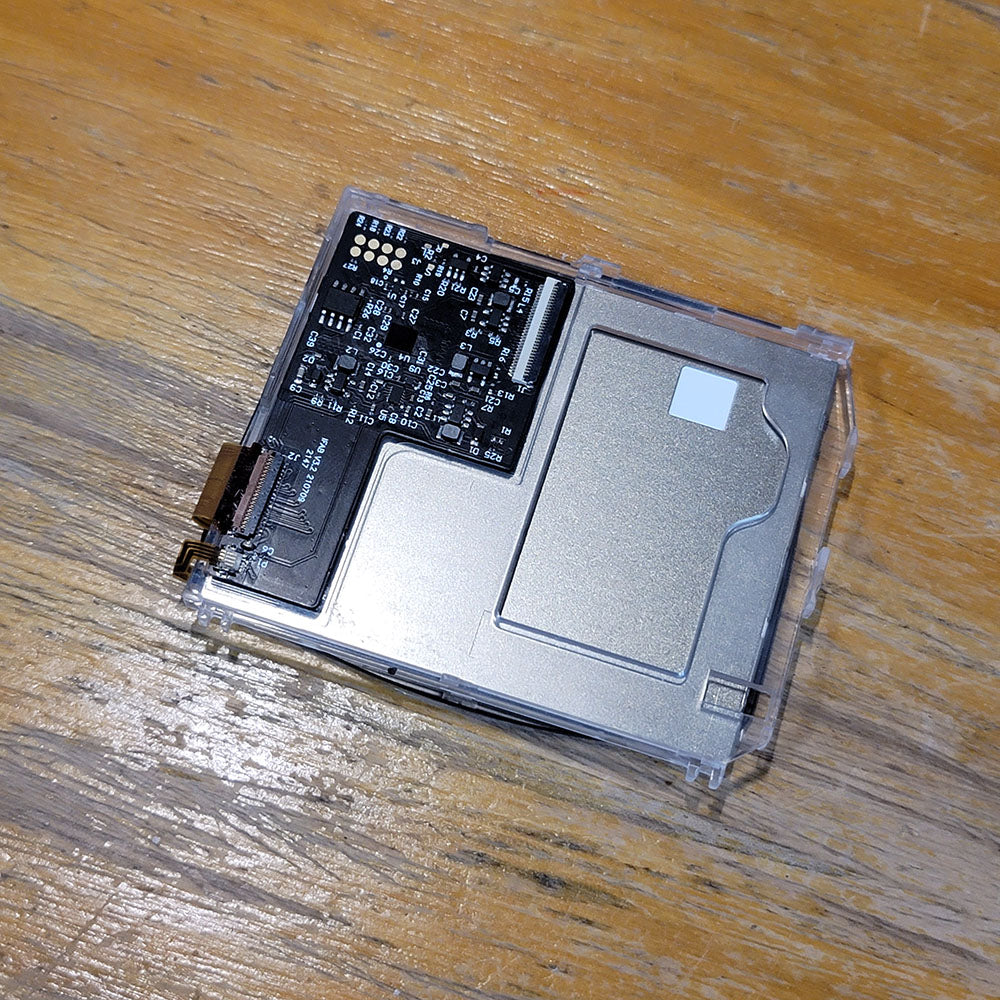
- Install the main ribbon on the bracket,Put the panel on the back of the bracket and connect the interface.
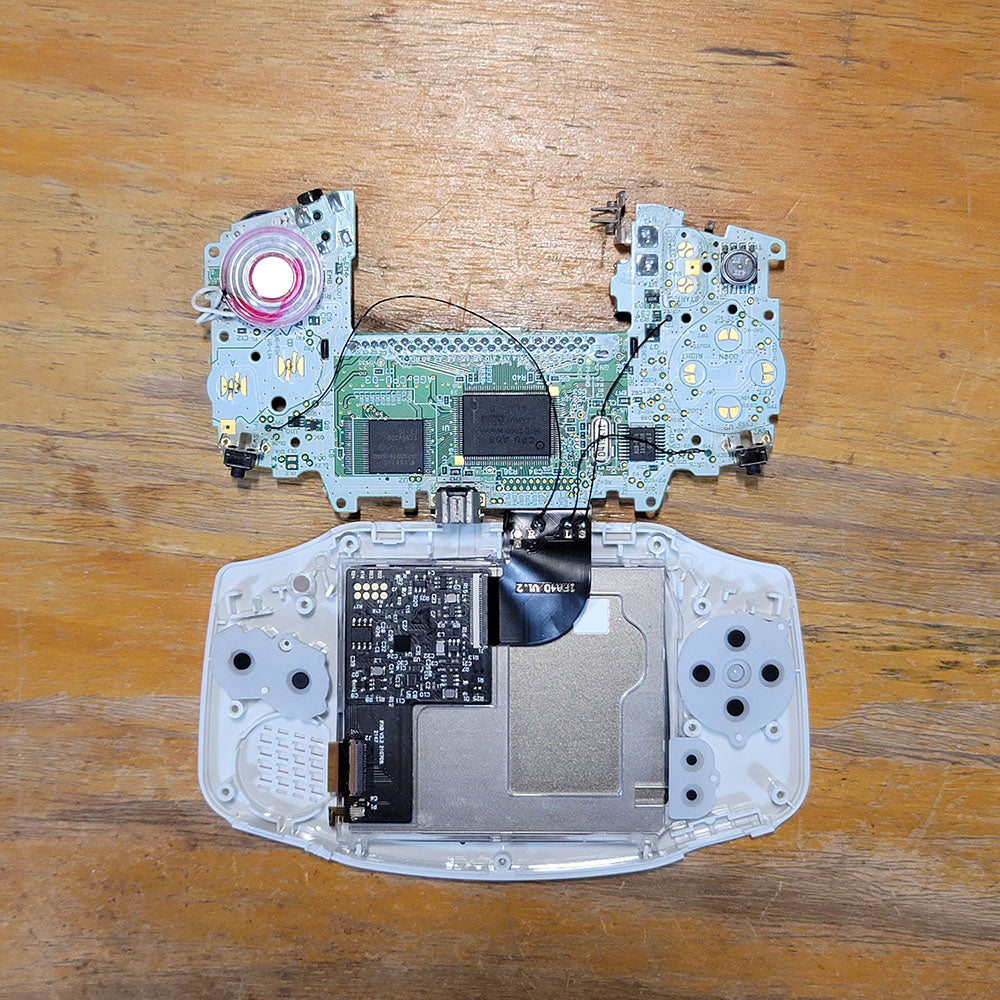
- Remove the redundant plastic parts of the front housing data interface,Prepare for installation.

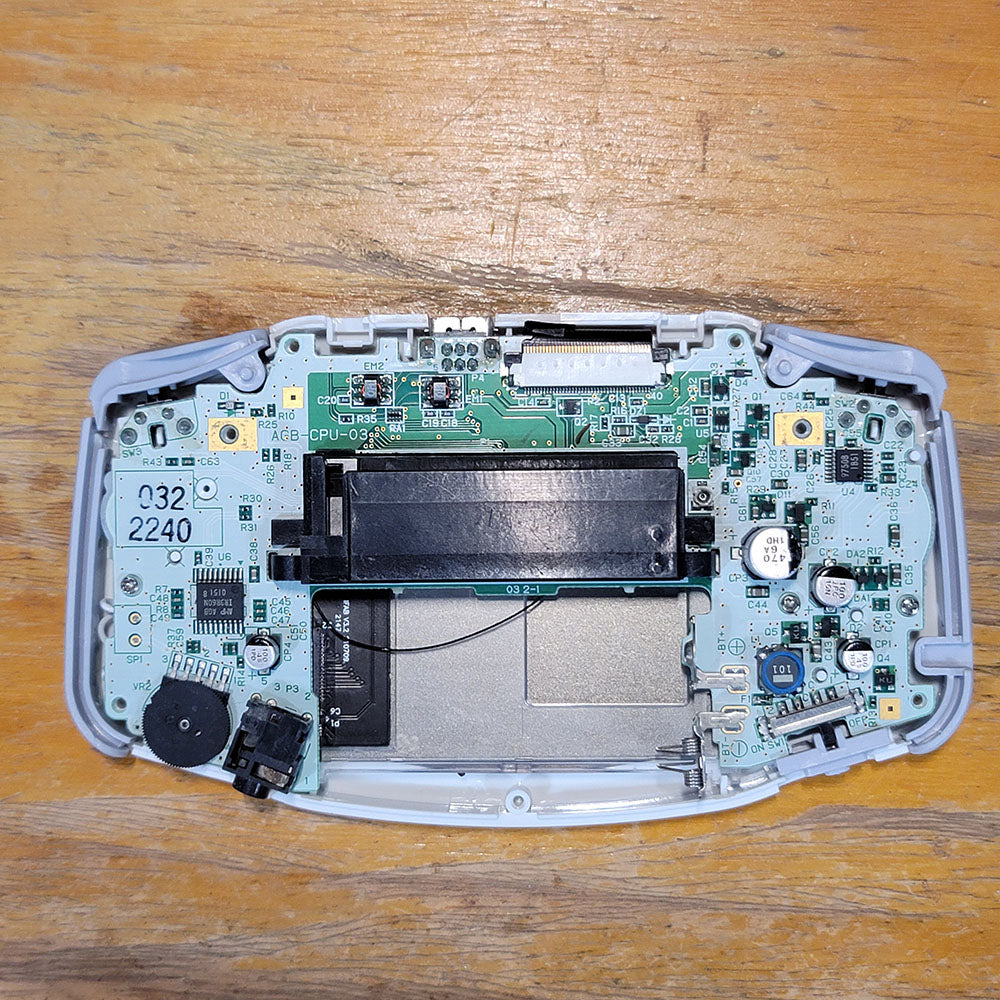
- Connect the large ribbon and the small ribbon after the accessories are installed on the front shell.(40 pin motherboards require that the C54 capacitor be removed before installation!)
-
Press and hold the L R SELECT button at the same time for 3 seconds to turn on the position adjustment function. Optional
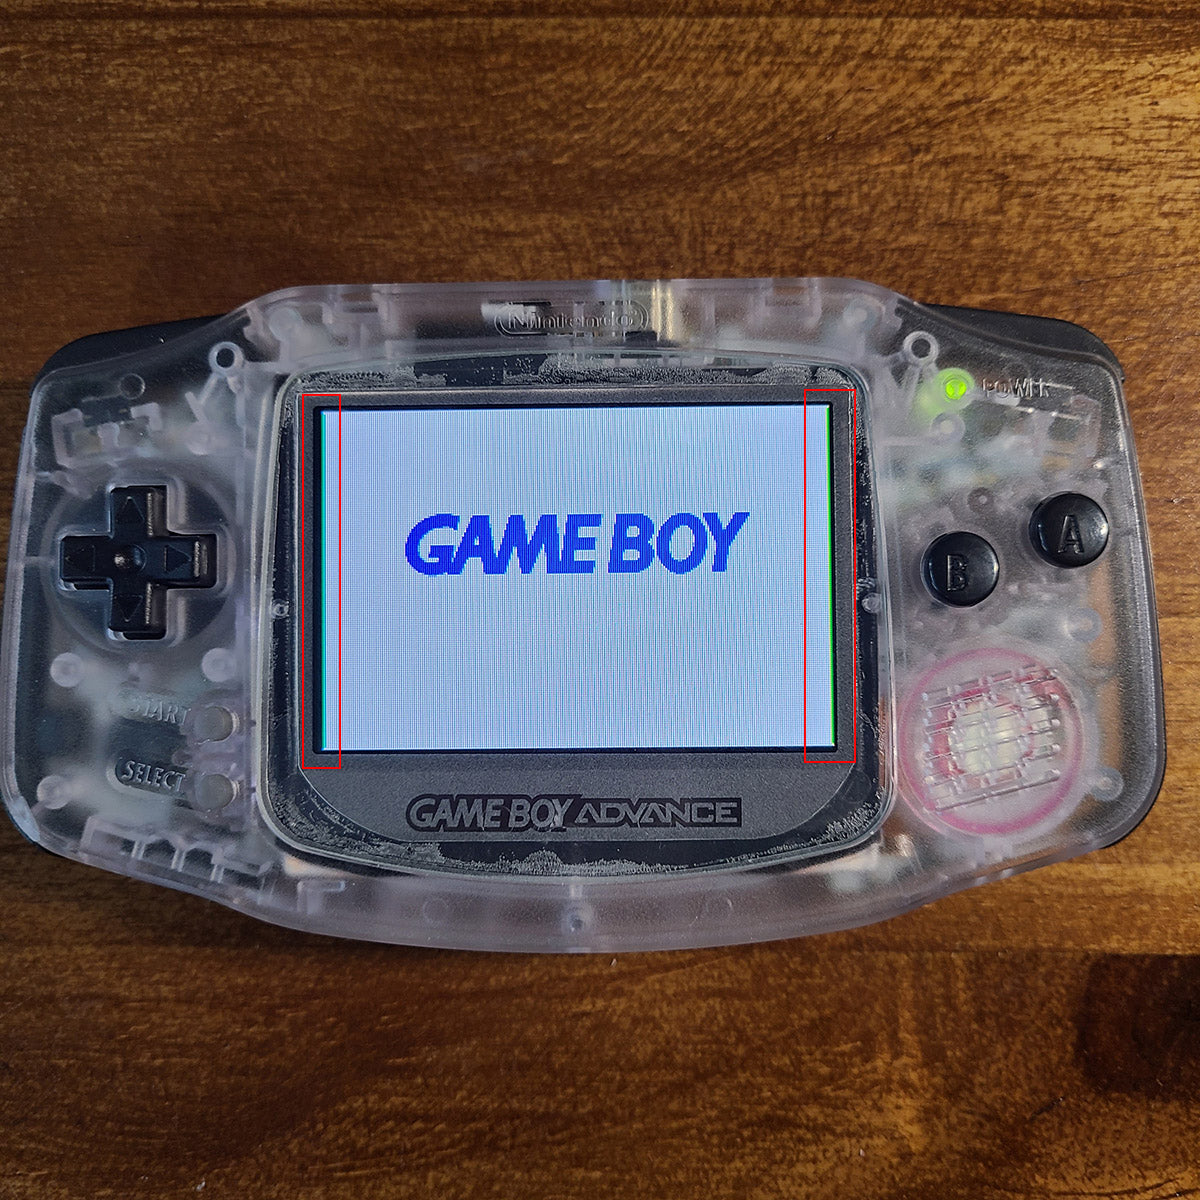 Press and hold for three seconds again to change the vertical position adjustment function.
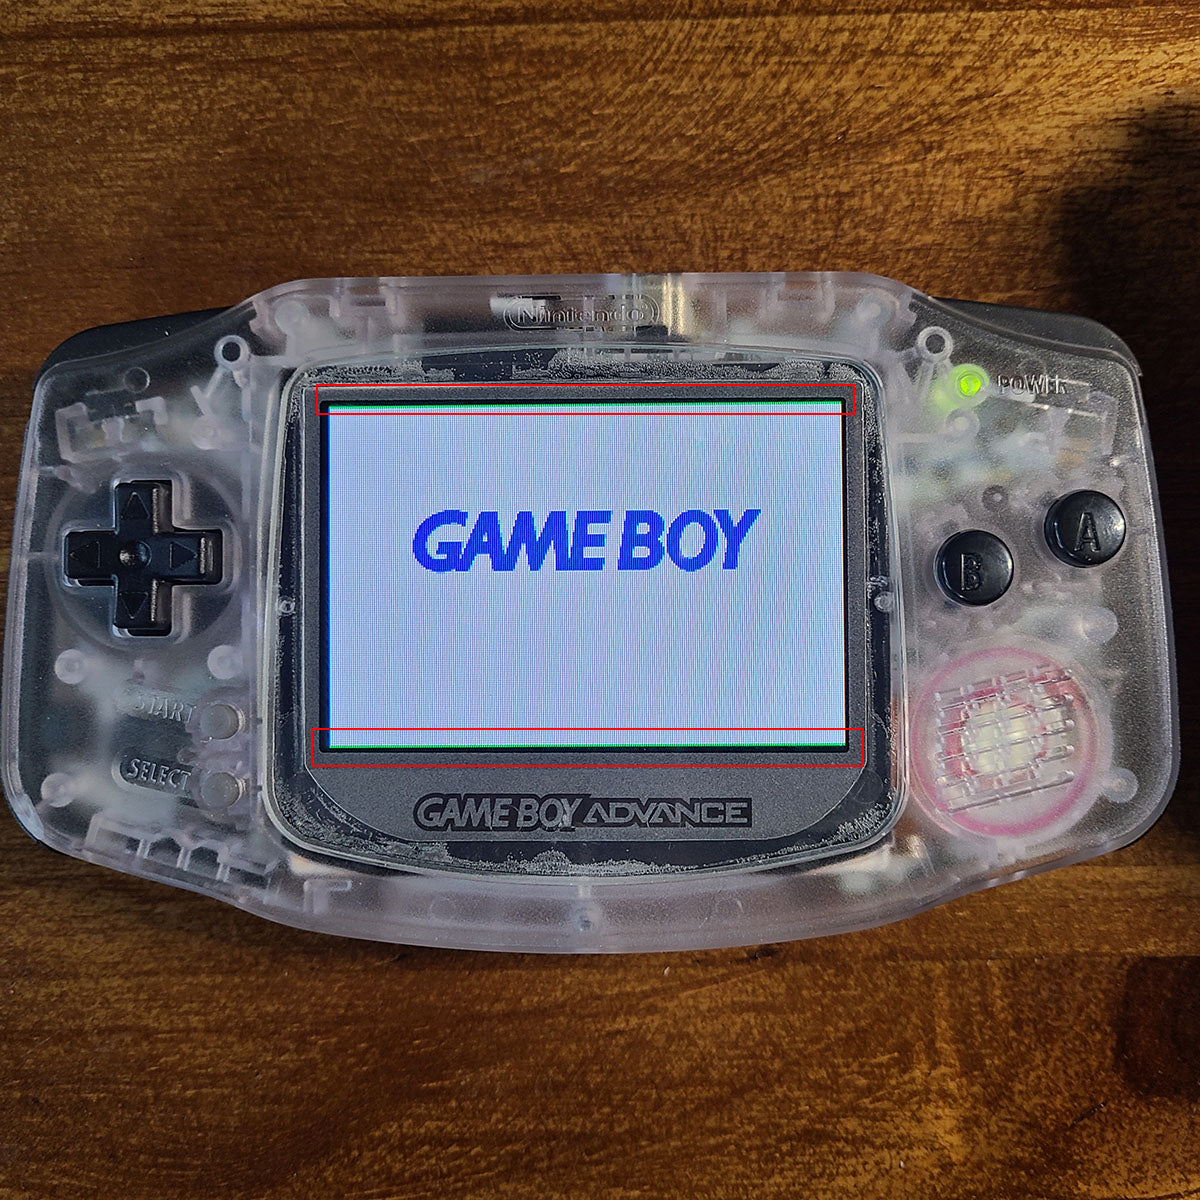
- Screw the three screws of the front housing.
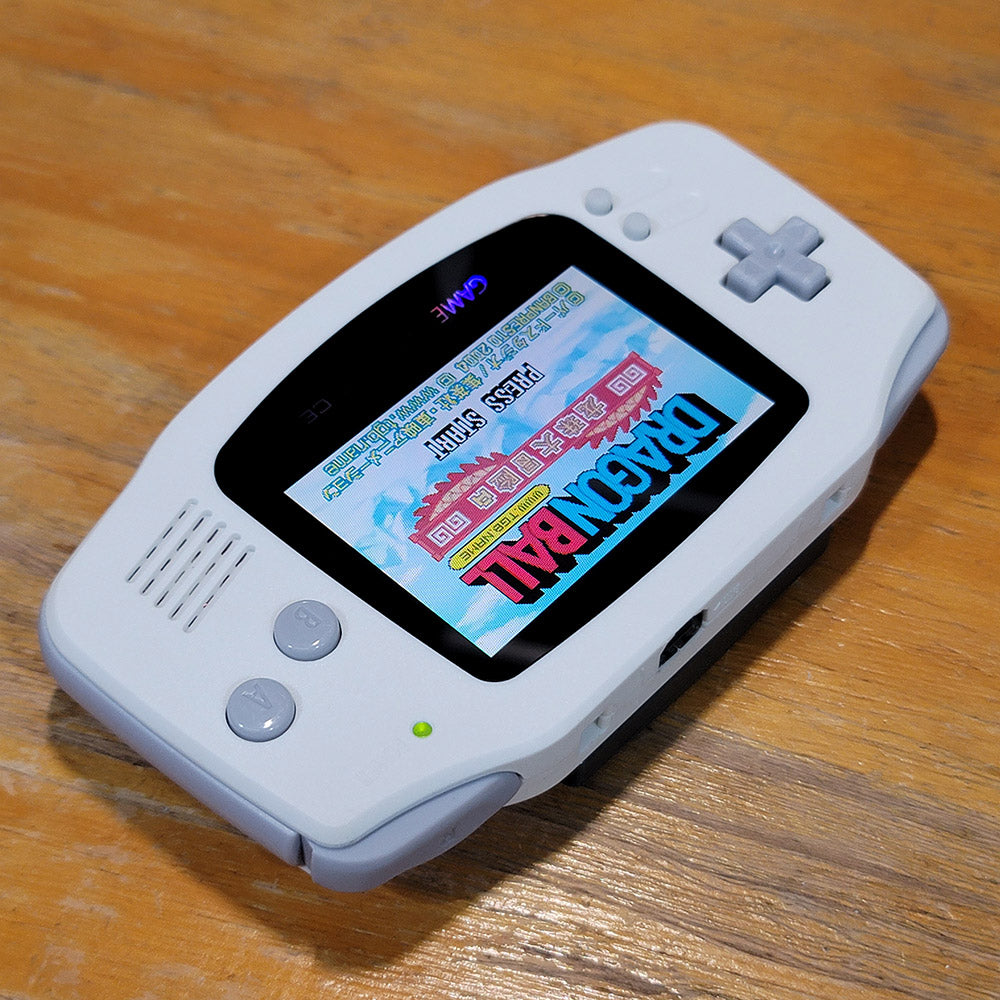
- After installing the back shell, it is all finished here.
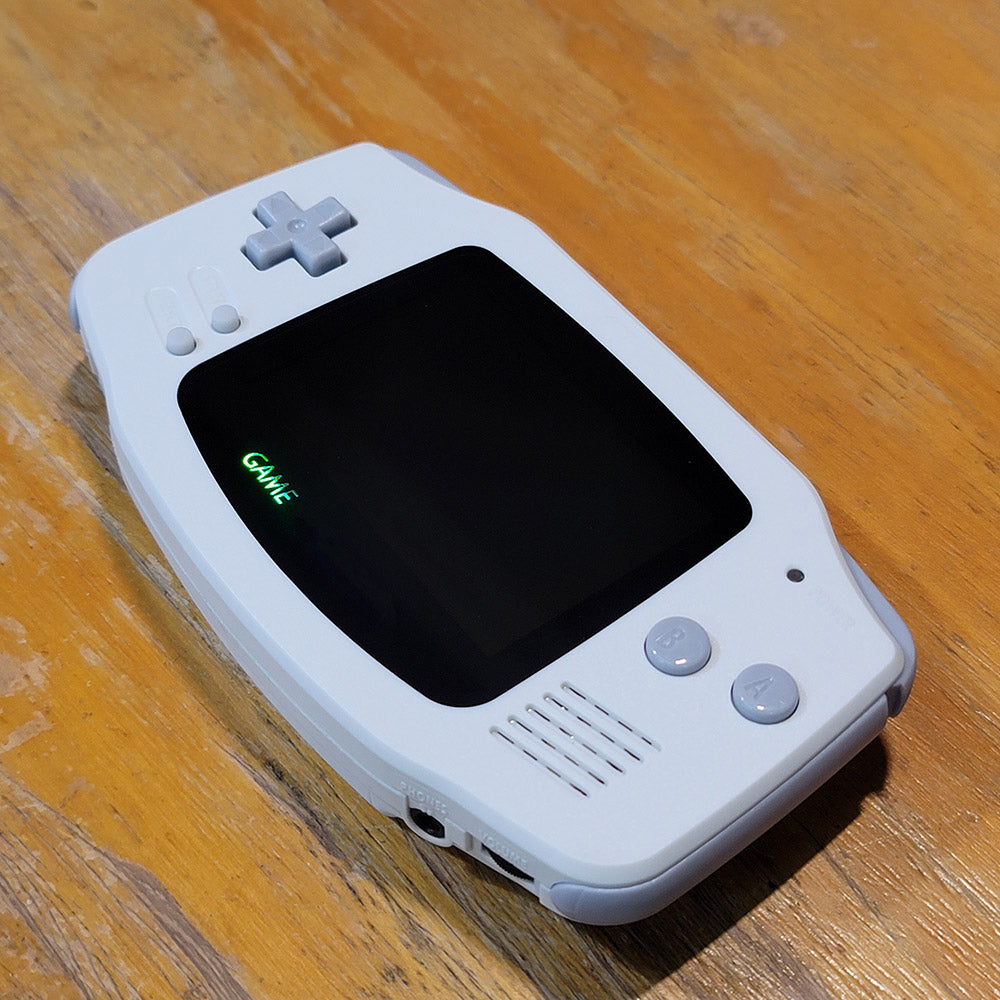
Let's see the final display effect.


Historical Record
2022-12-17: Update bracket
