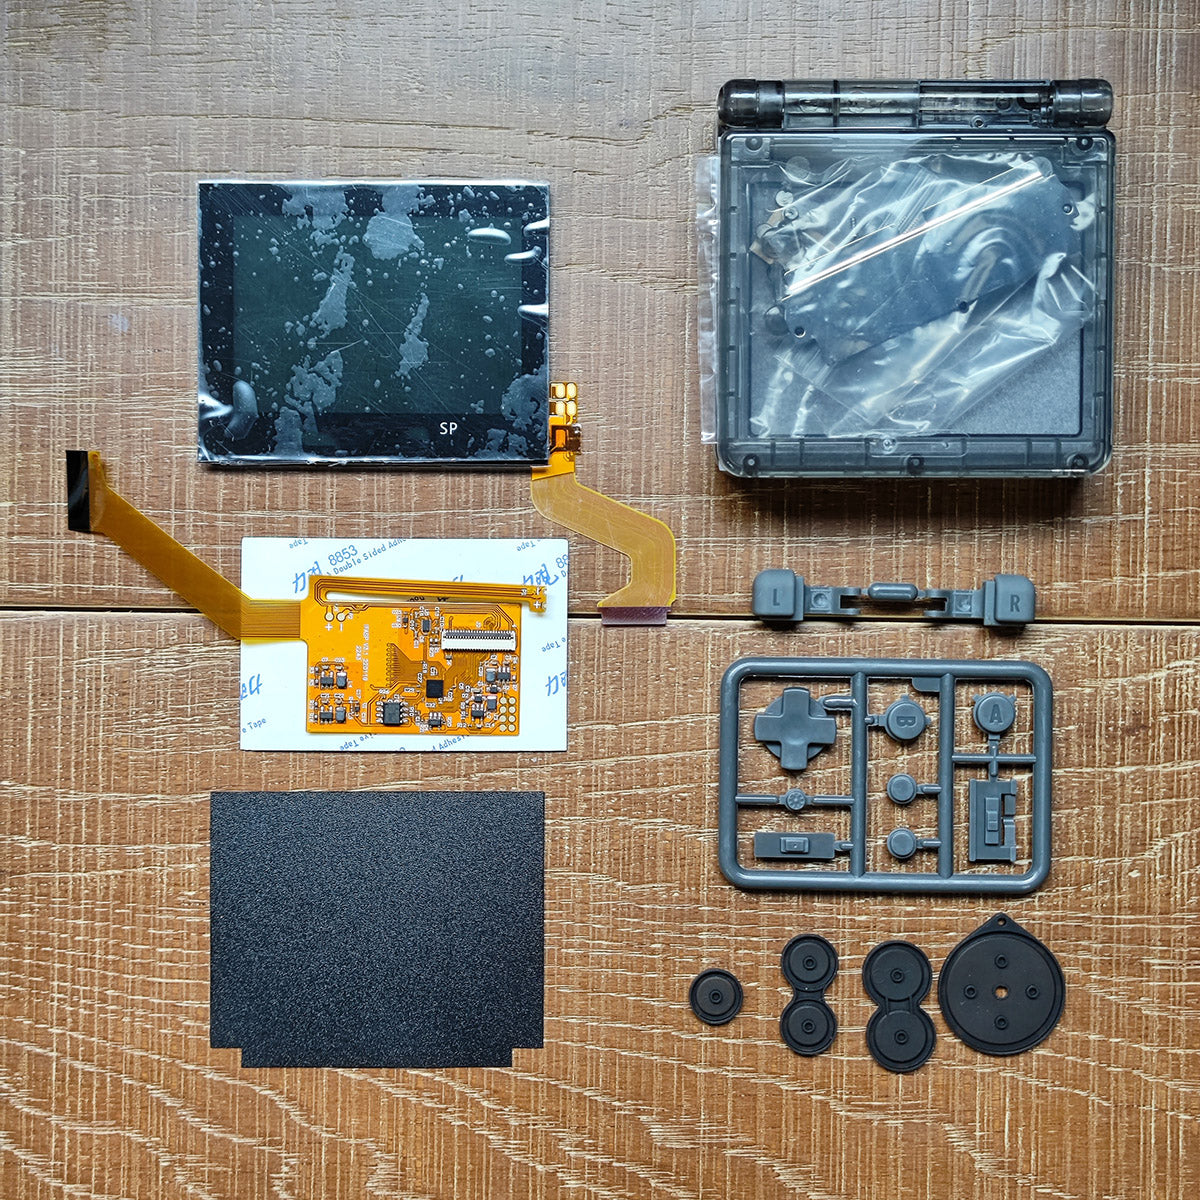
This tutorial is used to customize the installation method of the housing,The original housing Not applicable to this kit.
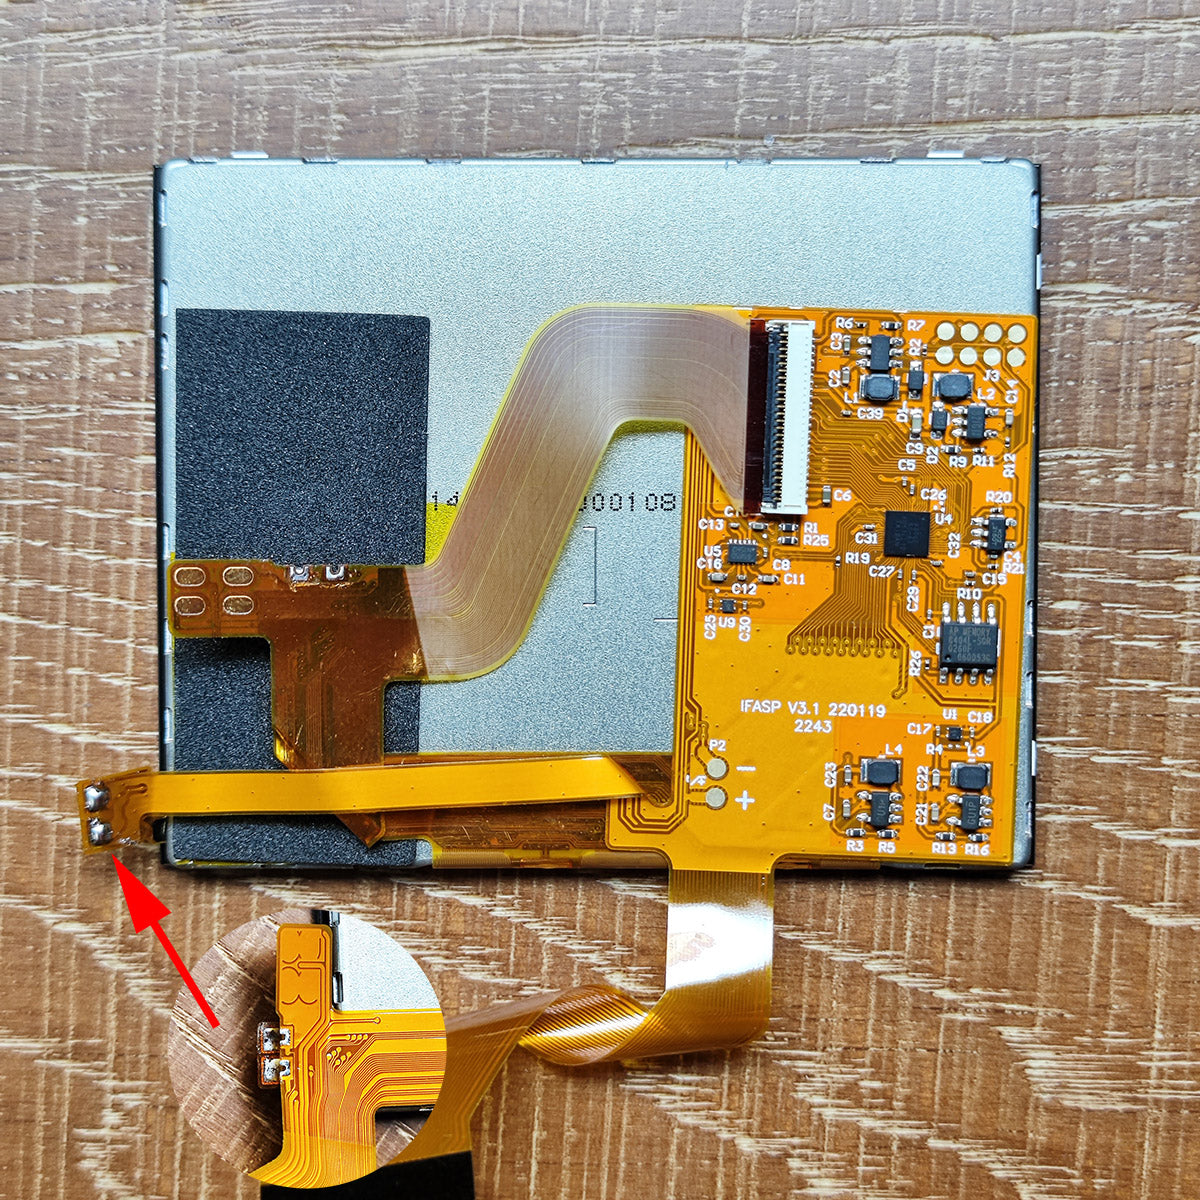
Separate the original backlight connection point of the panel,Then weld it to the backlight connection line of the ribbon.Connect the screen ribbon to the connector 90degree Bend screen ribbon.
Special attention shall be paid to insulation under this area,Use the sponge to paste to the panel frame.
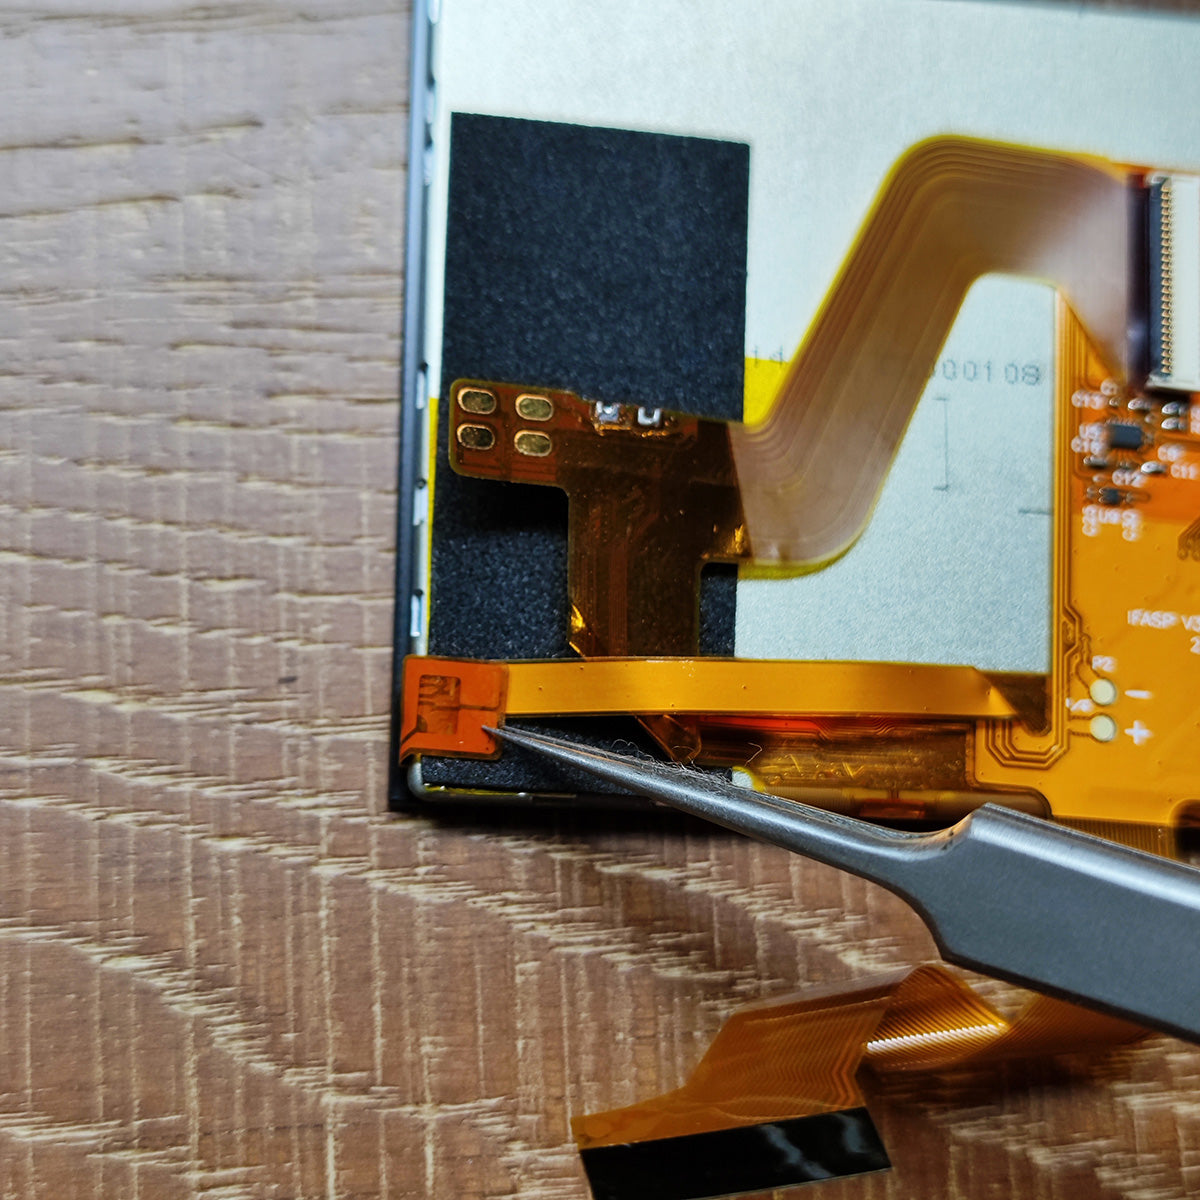
Bend the backlight connection line Avoid pulling

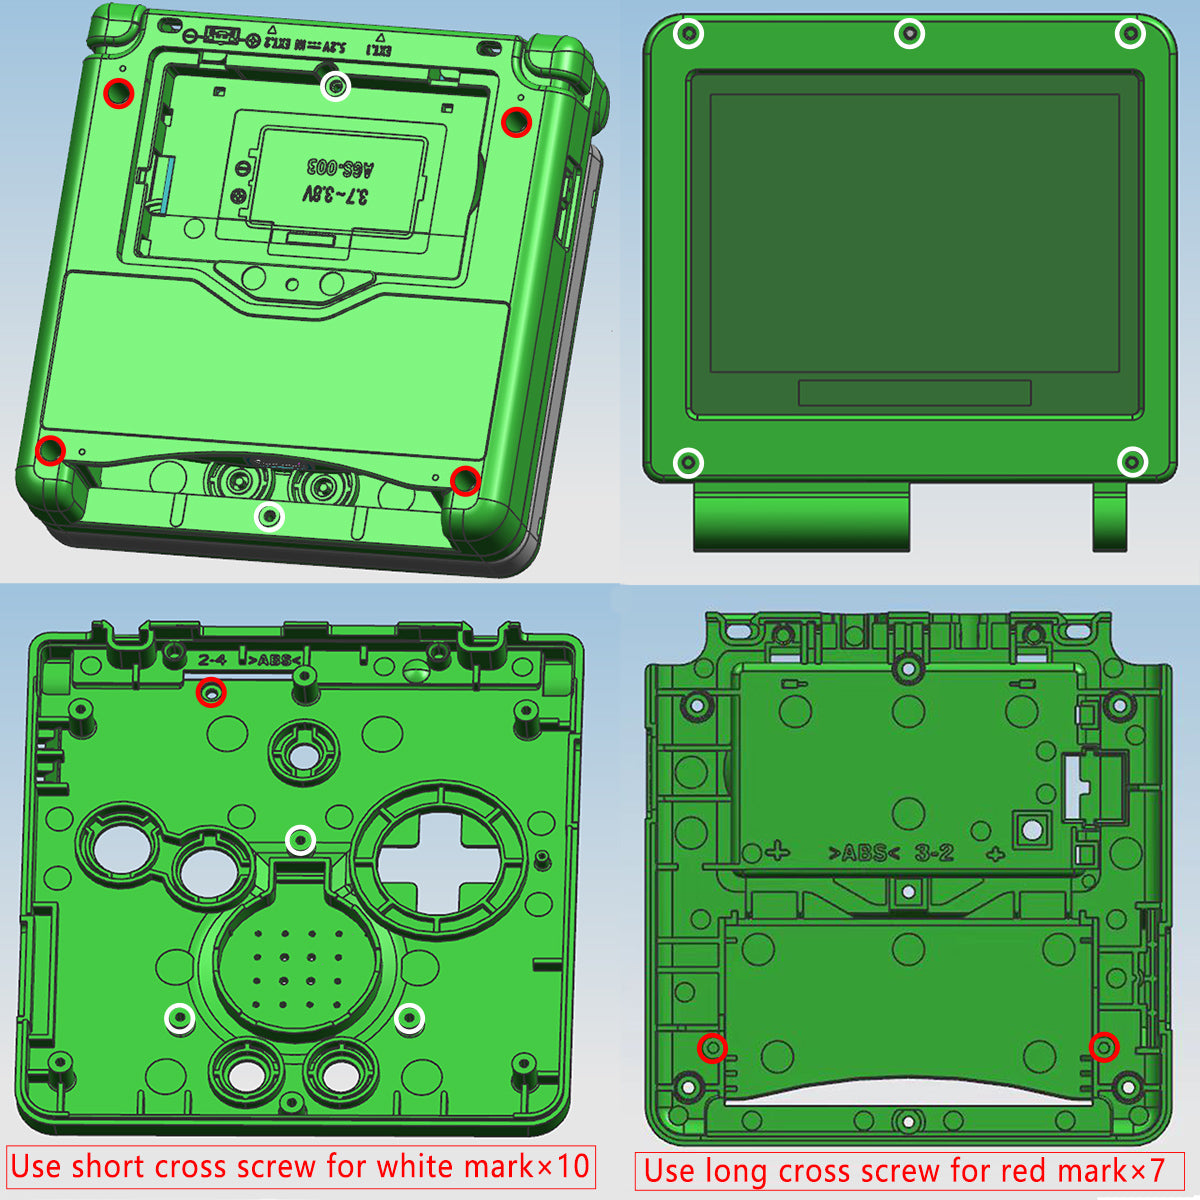
Cover the front housing and install five short cross screws.
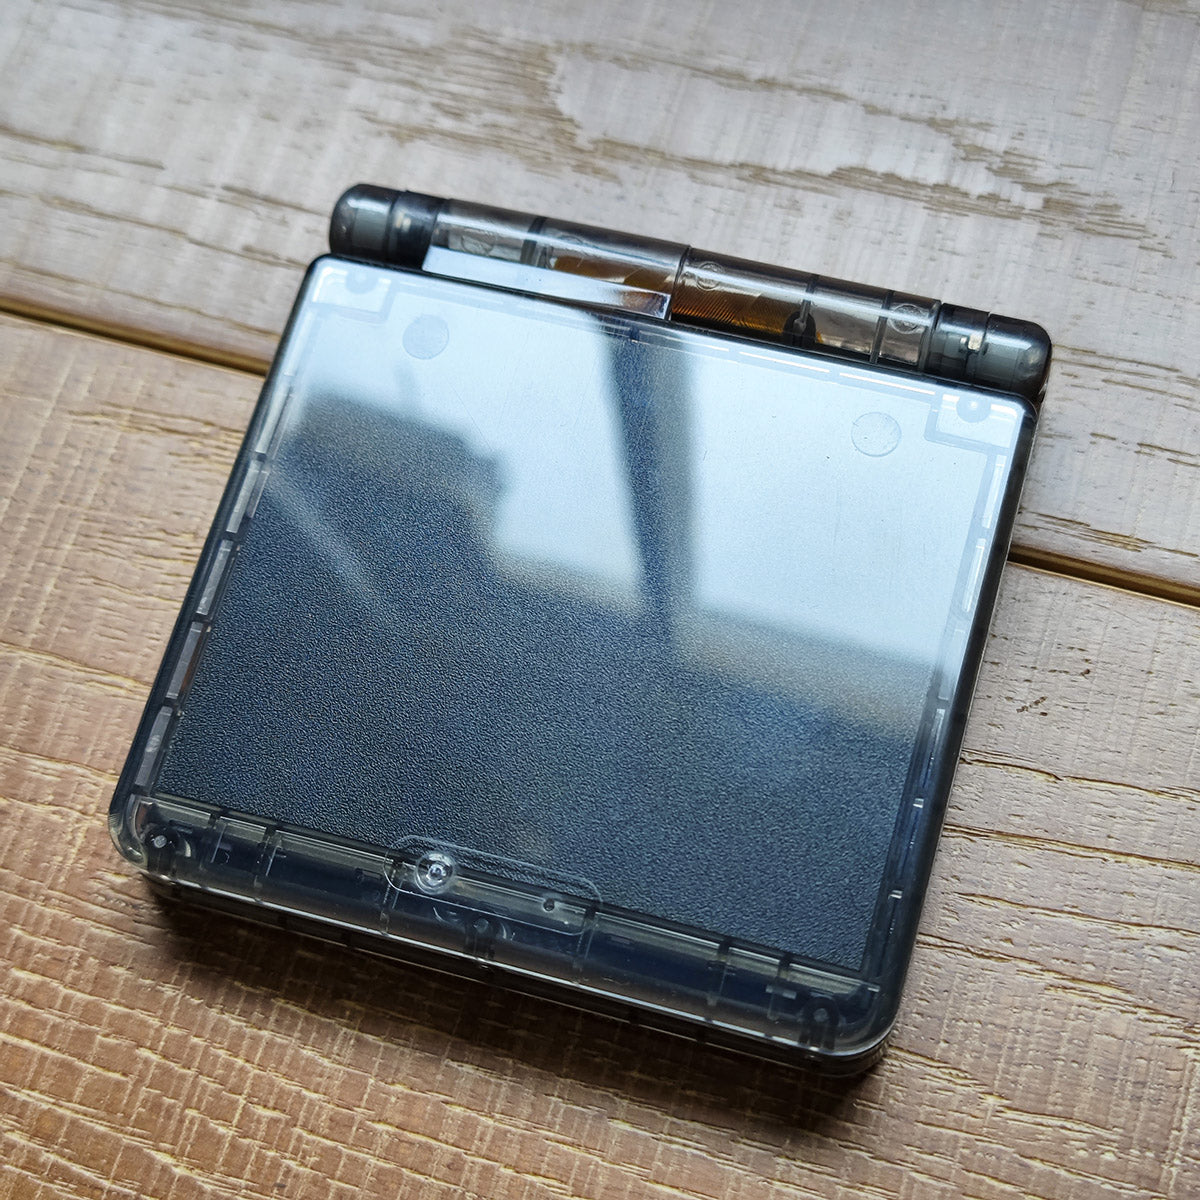
The clear shell can be purchased with frosted PVC paper for decoration(Optional)
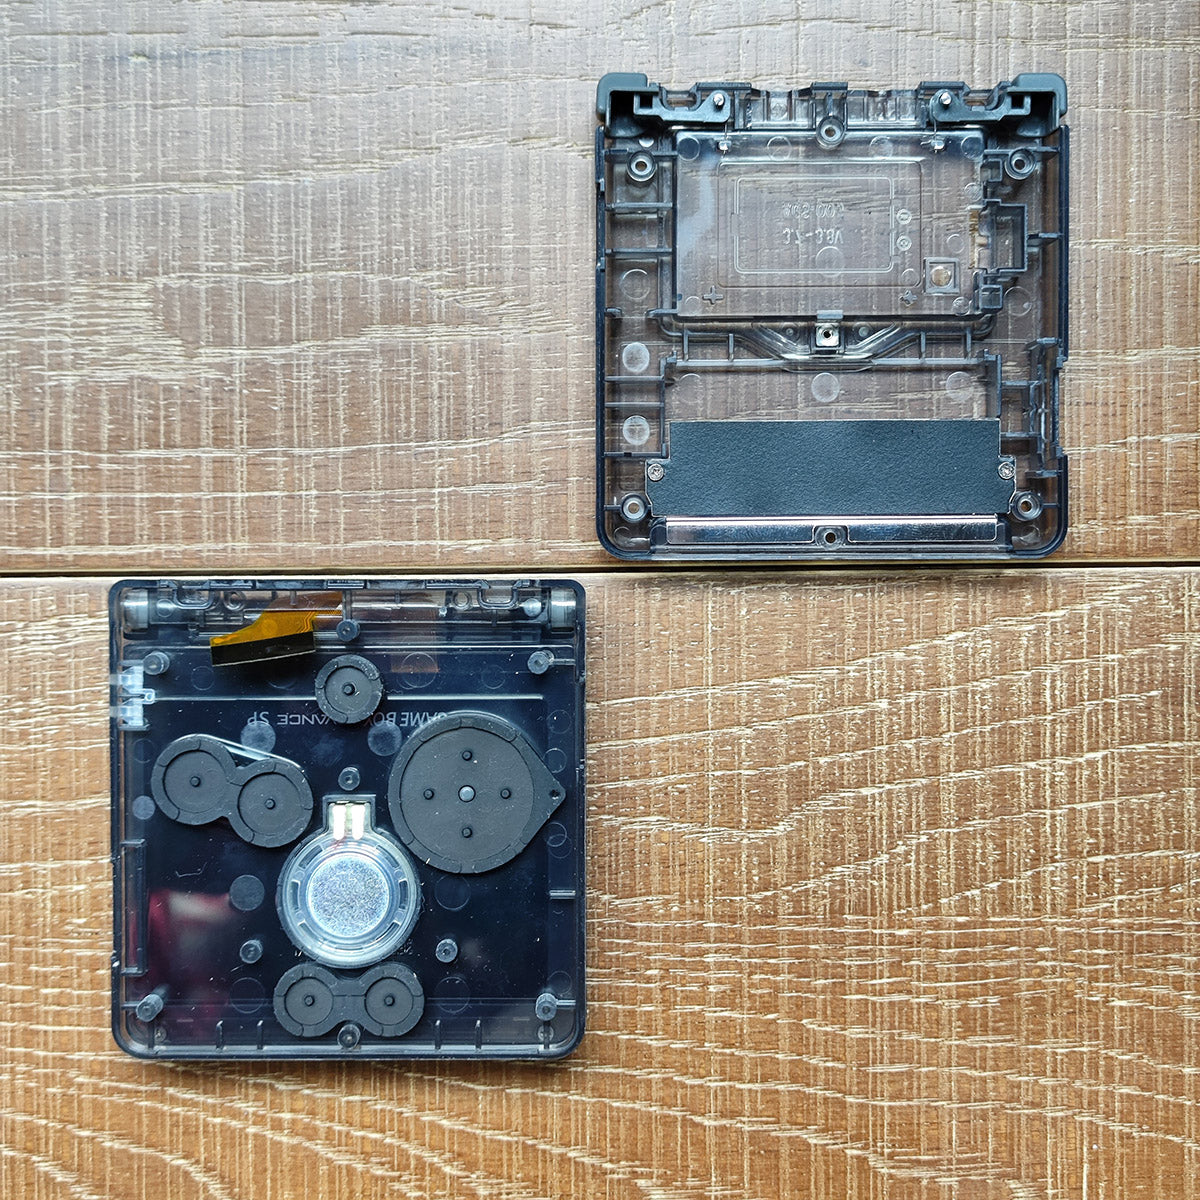
Front housing installation Light guide column buttons silicone and speaker,Rear housing installation LR spring Cart slot baffle and battery cover nut.
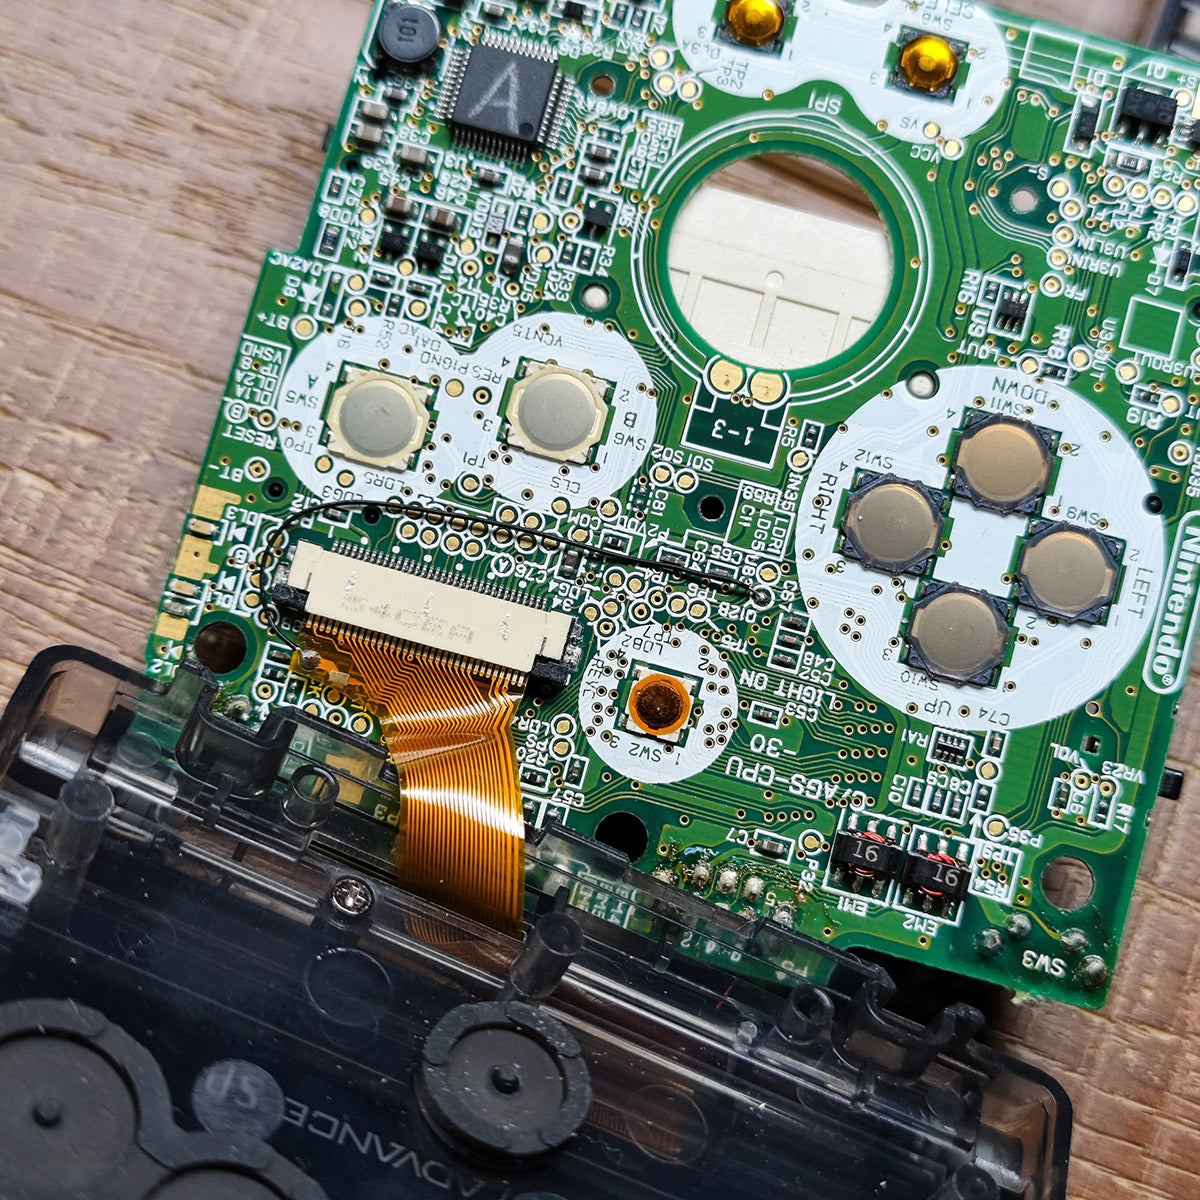
Connect the ribbon to the motherboard and then weld the backlight Point(Q12B)to the ribbon.
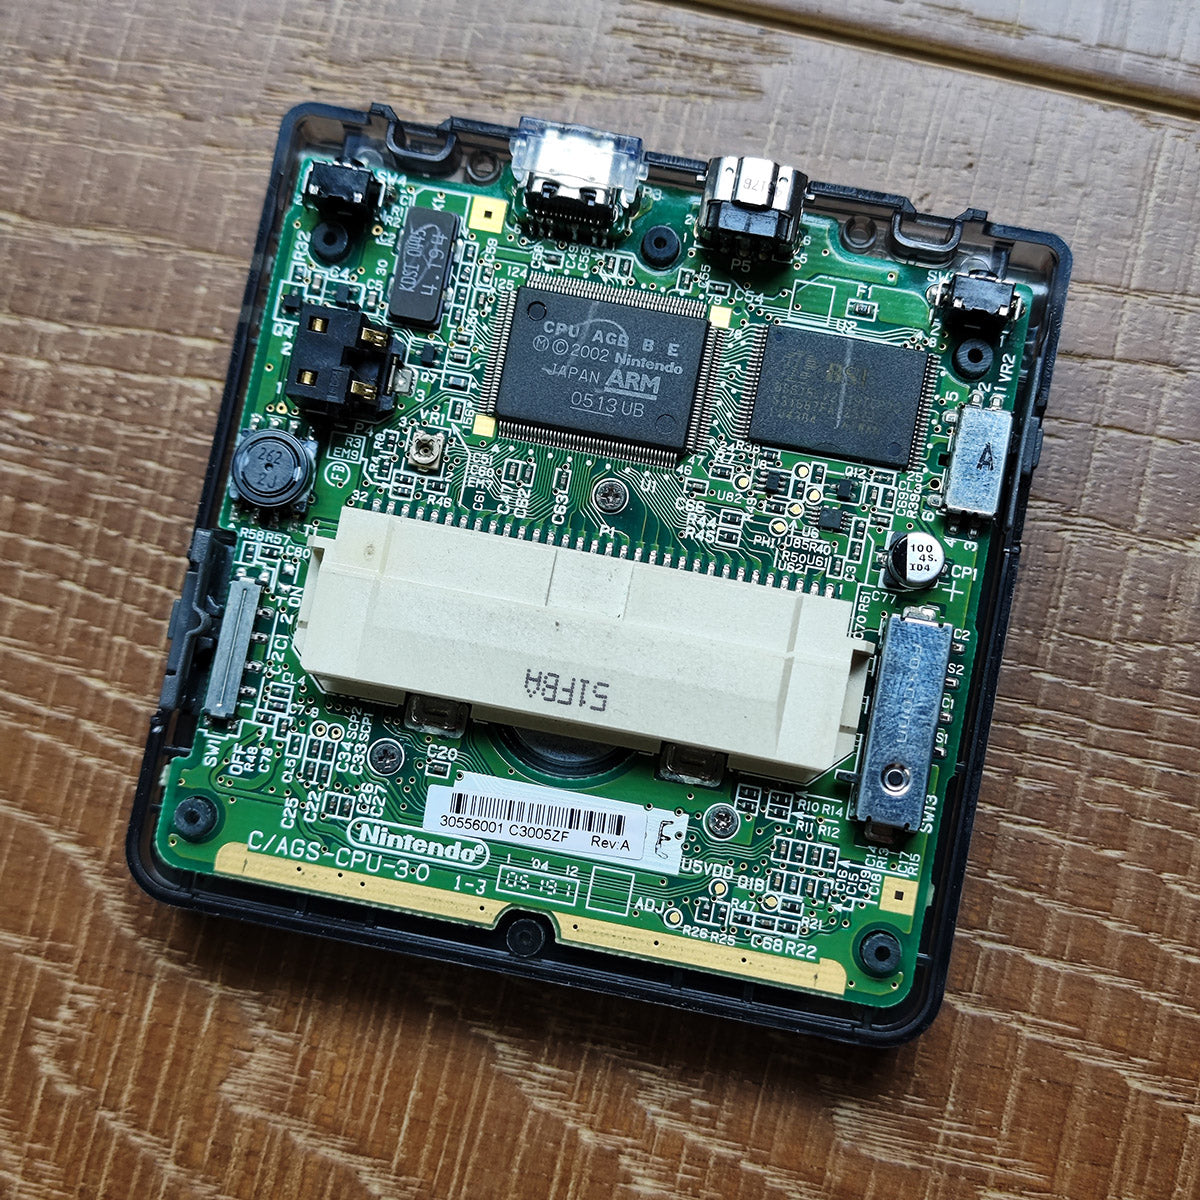
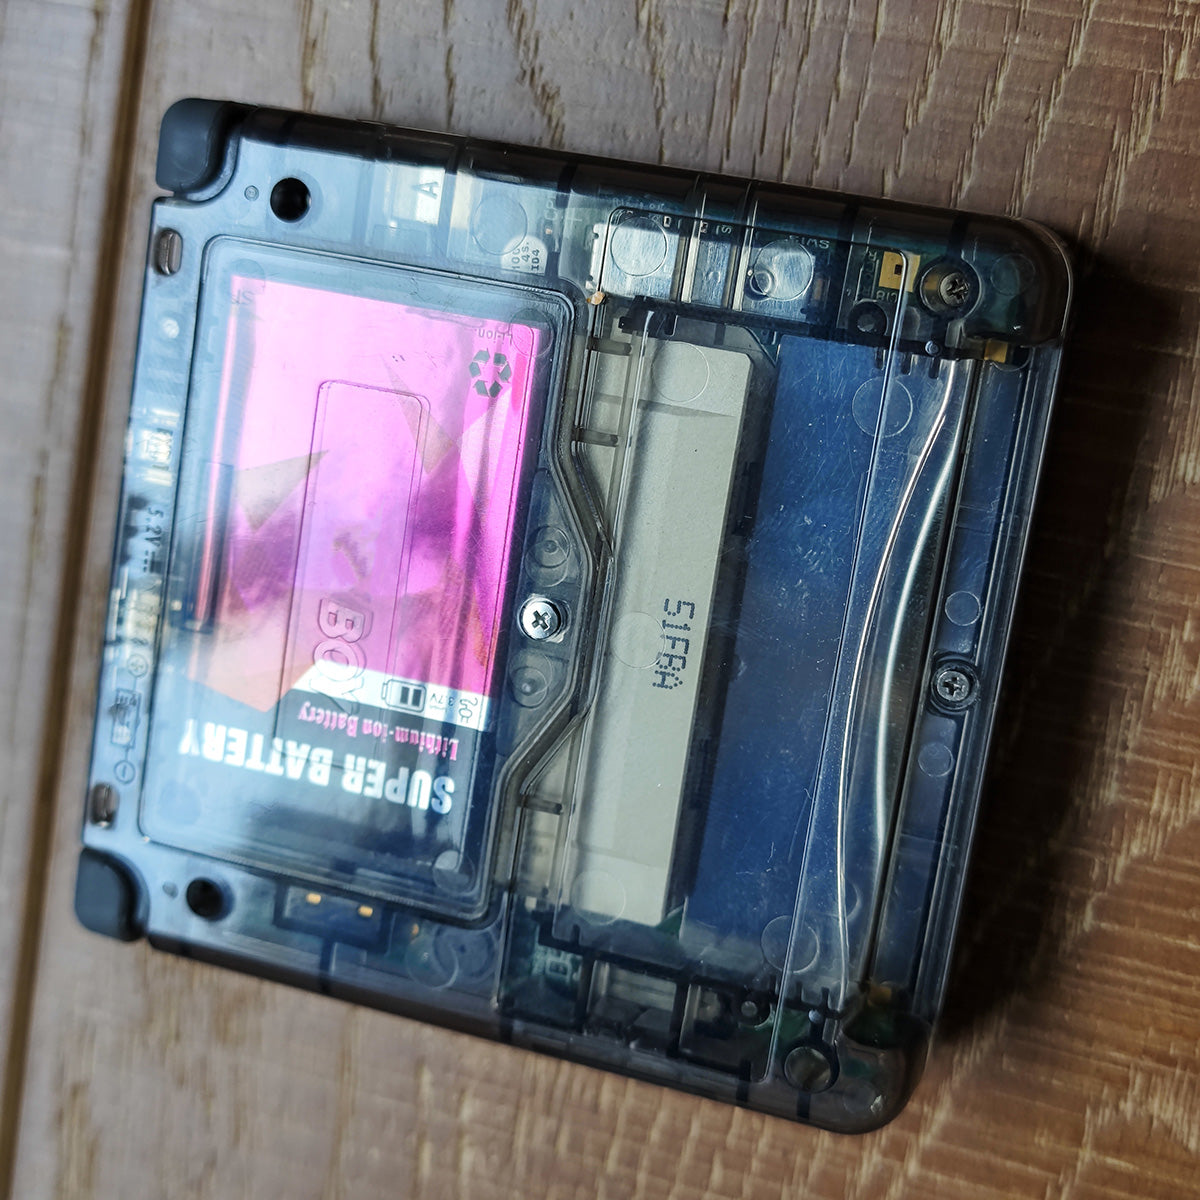
Fix the main board with three short cross screws,Put on the power switch for final installation.
Install the rear housing with four long screws and two short screws in the middle.
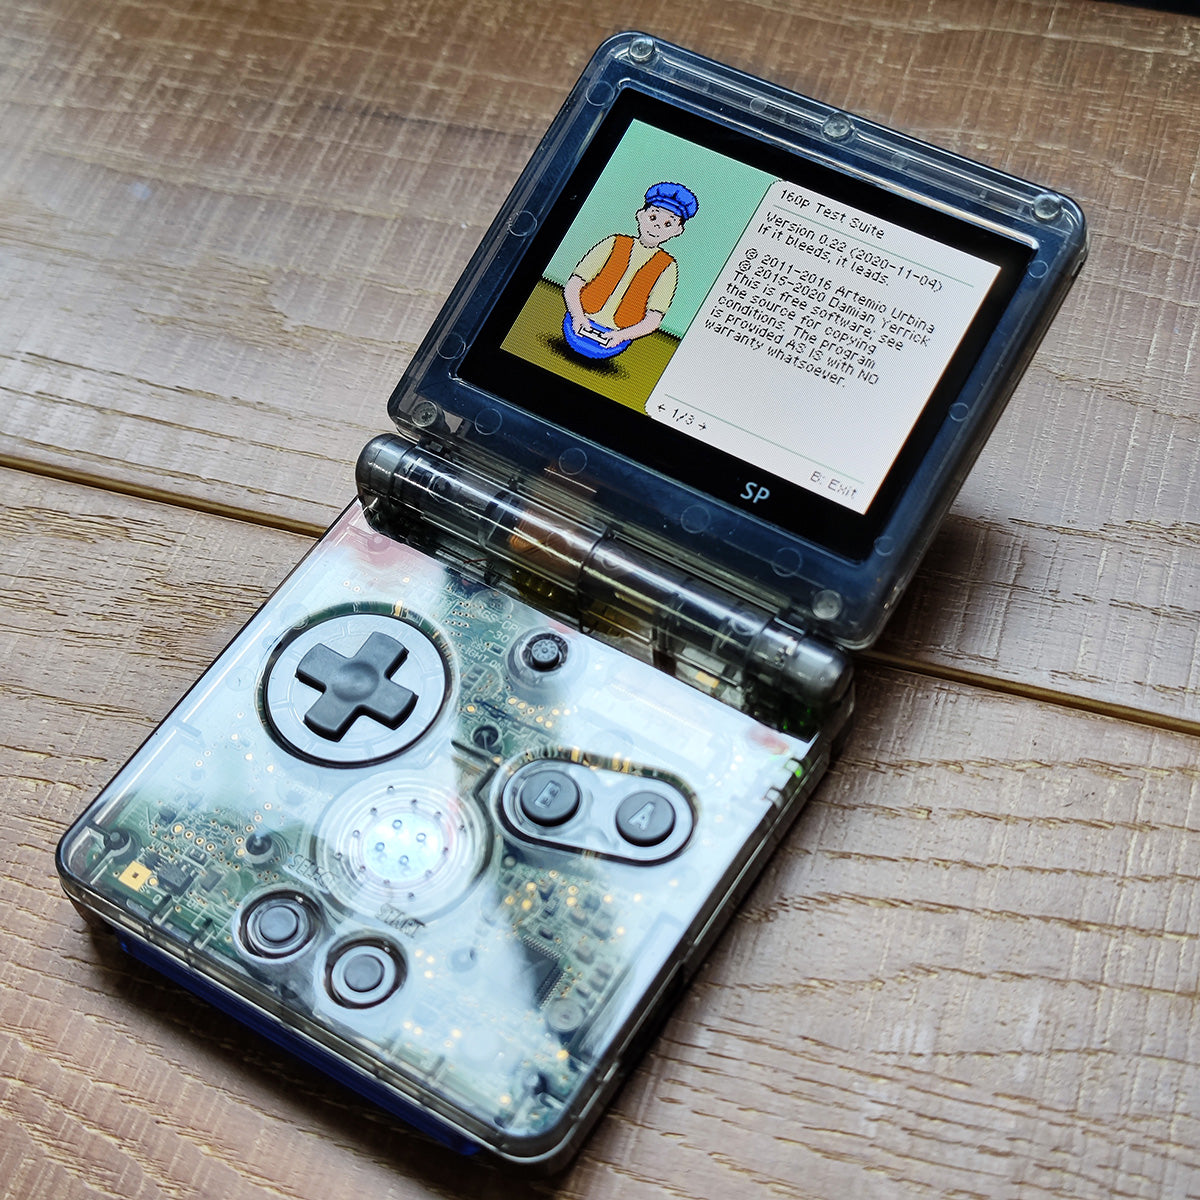
Plug the attached silica gel with the same color and your console is finished.